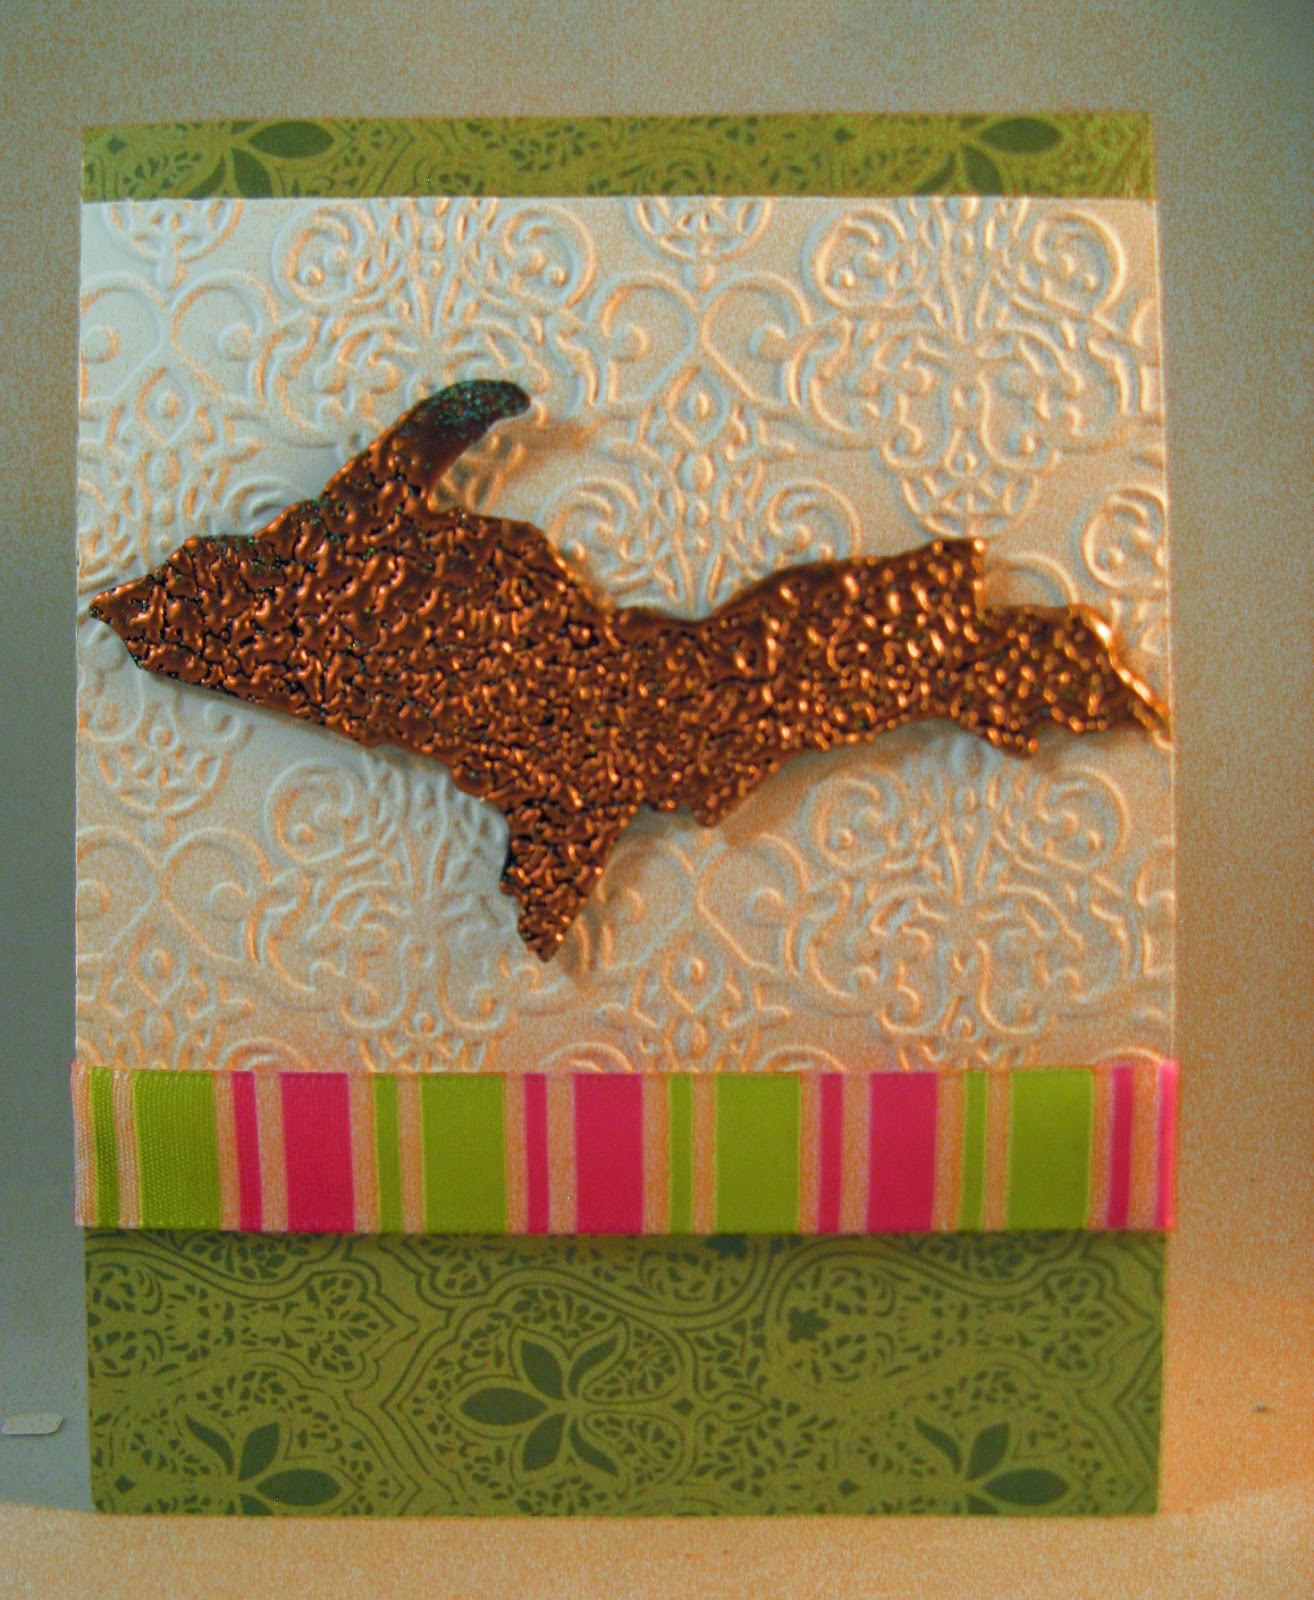
Brighten up any Yooper's face with these one-of-a-kind U.P. cards! These are popular at Fort Wilkins State Park gift shop. Summer is here - which means sunshine and showers for da Yoopers!
Today's post features 15 Black Bear cards - just in time for the tourists in Copper Harbor, Michigan, who visit the dump the watch the black bears feed.
Today is another fun-filled day with Operation Write Home's Sketch Blog Hop - Fundraising for Our Heroes. Operation Write home is bringing you another sketch with lots of beautiful interpretations - all simply stunning. Make sure you visit their blog to view all the creativity, and - if you can - donate for the fundraiser. Here is my contribution.
I’ve been making Christmas cards for a while now. I love these two cards because of the vintage Christmas postcard images from Tsunami Rose Designs. Some die-cut snowflakes - super simple! :D
I didn't get around to creating a new project for today....learned yesterday that my wedding wall hanging is a finalist in a scrapbook layout contest sponsored by Create for Less. So my evening was spent counting my votes! LOL! As of this posting, I am in first place! So in honor of Create For Less recognizing my work, I am simply reposting my most favorite project to date. Step-by-step instructions for this project are posted here.
While I am currently in first place, I would love for you to help me stay there! Please visit this link - and simply LIKE the photo. Thanks!
Last month, I shared a tutorial on how to use Adobe Photoshop Elements (or Gimp) to color a digital image. Today's goal is to color a digital image with some basic blending. For this tutorial, I am using 2 Cute Ink'sSherlock Mouse. Here is a pic of the first card - with steps following (as well as another card made with the same image).
Open your digital file. Crop the image if necessary.
Use Paint Bucket Tool to pain his coat, hat, and pipe.
I used basic coloring techniques to color Sherlock's coat, hat, and pipe. Select your colors and use the Paint Bucket Tool to paint these items as desired.
The next thing I wanted to do was to color Sherlock - with a bit of blending on his ears and face. Select the two colors you want to use (I selected a light grey for the foreground color and a dark grey for the background color.)
Next, you must select the area you want to color. On the left tool bar, select the Magic Wand Tool. (The icon looks like a magic wand.) Click anywhere inside the mouse's right ear - you will see the section outlined with a somewhat blinking dotted line.
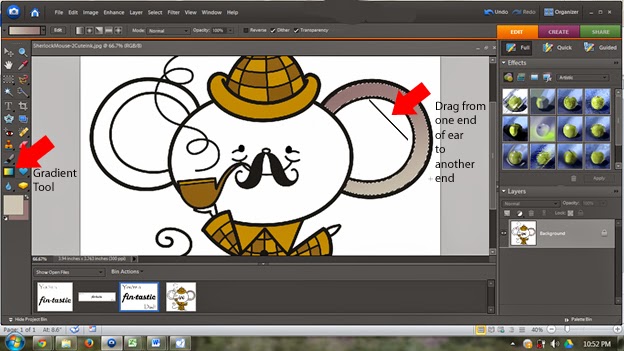
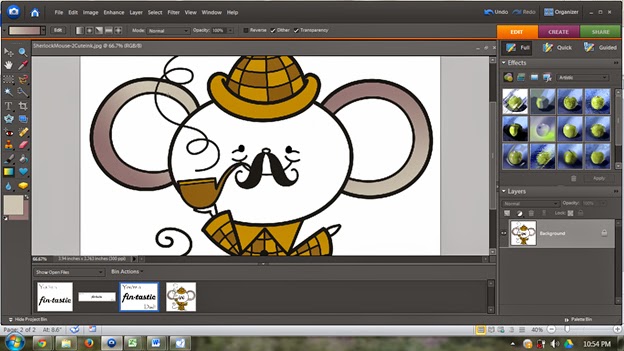
Chose the Gradient Tool on the left toolbar. Place the crossbar anywhere inside the blinking outline and drag to the other side of the ear. You should see the ear fill with a gradient color of the foreground and background. The ear should turn to shades of grey.
Practice this type of blending - trying different directions. Practice dragging the color outside the ear. Remember, you can undo any change you make by immediately pressing Ctrl-Z.
Once happy with the right ear, move to the left ear. You will see the left ear is actually divided by a line of smoke in the image. Therefore, when you use the Magic Wand Tool, you need to select BOTH sections of ear before coloring. To do this, select one section - hold the Shift key down - select the second section. Then use the gradient tool to color the left ear as you did with the right ear.
Repeat the process for Sherlock's face.
Change your foreground and background colors for the inside of Sherlock's ears - repeat the process.
When satisfied, be sure to click SAVE AS . . . to save the image as a JPEG file with a NEW NAME. This way your original image from 2 Cute Ink stays pure and usable over and over again.
Here is another card I made using the same Sherlock Mouse image. The inside sentiment for both cards is "You're the best!"
I do want to note that blending truly should be done all in the same "direction" to indicate the source of light. I, however, get bored easily - so enjoy going in a variety of directions on my images - not really concerned if it's not "right." :D Specific questions about using 2 Cute Ink digital images with Photoshop? Feel free to ask those on my blog.
I have fallen in love with making Christmas cards! So much so that I keep my Christmas papers within arm's length, and I continue to make fun new Christmas cards every chance I get. For today's card, I used A Digital Postcard (Christmas Gifts Journal Pockets) from Tsunami Rose Designs - cut with Spellbinders Nested Pine Trees.
Having a scrappin' blog is great fun, but many of us often don't have the time to make all the projects we envision. Am posting this early, as I'm expecting to be mighty tired coming back from a trip to visit my first-born grandson. And I'm out of timely projects in my stash. So today I am sharing one of the Mother's Day cards I made this year.
What do you get when you combine black, red, and white - embossing - and some fun border strips, and a nice digital sentiment?? That's easy - two awesome Father's Day cards!! Quick and easy to create!
Today's post is all about fish for Father's Day! I can't remember where I got the digital stamp - but it's perfect to wish Fathers everywhere a great day!
Don't you just love that feeling of being inspired at just the right time you need a specific card? Just before my brother-in-law's birthday, someone on a Facebook cardmaking page inspired me with creative inspiration to make a fishing-jacket card for my fishy brother-in-law. Not my best work, as I was in a hurry....but fun it was. And Doug appreciated it.
The fishing vest card is a free download from W Plus 9.
Wow! I'm actually preparing this post a week ago - as I'm traveling to visit my first grandchild. I am betting by now that I am SUPER tired. I actually just get tired thinking after this quick trip, I have to return the work for a long day Friday! LOL!
Anyhow, for today's card, I kept it simple with just layers of colors + ribbon. I used scrap pieces from Graphic 45's Place in Time paper collection. Enjoy!