Showing posts with label winter. Show all posts

December 4, 2021

Showcasing Winter Serenity, Wonderland, and Warm Wishes

There's a new challenge at Paper Ala Mode - The Outlawz.

For the flower/bow, I printed a pattern from the Winter Serenity on tissue paper so I could have a package topper in the same color scheme.

Finally, I finished the package up with a huge tag using Wonderland and the new Warm Wishes.  Now for me, the fun of these challenges is seeing all the different projects completed using the same paper collection.  Remember, this is the last challenge of the year running through December 17.

October 31, 2021

We Are 3 Love

There's a brand new set of sentiments at We Are 3, and today it's my pleasure to introduce you to the Love set.  I went with a simple card, adding the We Are 3 printable Winter, as well as the fab Paisley Texture for the background.


May 15, 2021

Winter at We Are 3

Yikes!  Thinking about making Christmas cards.  This must be a record!  We Are 3 has new papers and printables just for that occasion - Winter.  Yes....I have become used to making Christmas cards in temps in the 90s, but with fun printables in the Winter set are cooool!

Gotta say, these gorgeous printables, Winter, are cheerful.  They cut beautifully in my Eclips.  Thought they are perfect for making beautiful Christmas cards.  Finally, I added a poinsettia to add a little more holiday.  Please be sure to visit We Are 3's Facebook page to be totally inspired.


November 11, 2019

The Outlawz Challenges - Sketch

I love this week's Wednesday Sketch Challenge at The Outlawz. Maybe because it was such a basic sketch. For this card, I used everything from my stash. I love how it came out. I forget where I got the image, but isn't it gorgeous? The Peach on Earth is a dimensional sticker.  

December 9, 2017

Highlighting Digi Stamps 4 Joy

Hello!  I'm here today with a card that the highlights a Digi Stamp 4 Joy - Is Santa Here?  The Digi Stamps 4 Joy are fun - I had to do some real thinking out of the box when coloring this image.  I'm really happy with my results.

November 25, 2017

Winter Girl

Let's see what I made for this week's Paper Ala Mode challenge at The Outlawz.  I'm highlighting Winter GirlMED Illustrations has a bunch of cute images for winter - adorable!  I colored my image with GIMP, using digital papers from the There's No Place Like Home Collection from Digital Scrapbook Experts.

November 22, 2017

November 20, 2017

Christmas Time

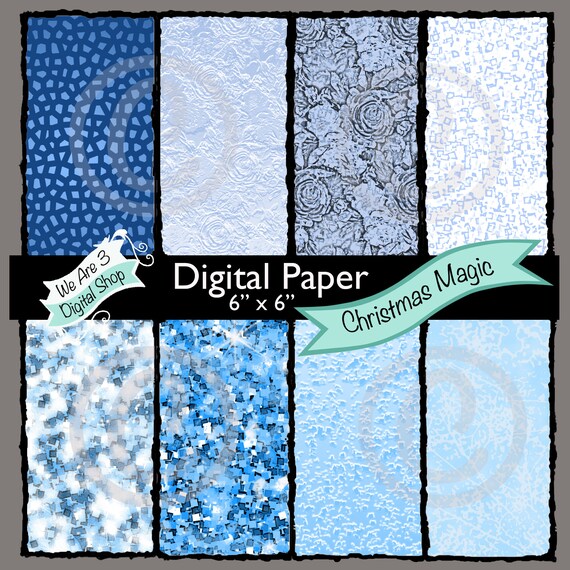
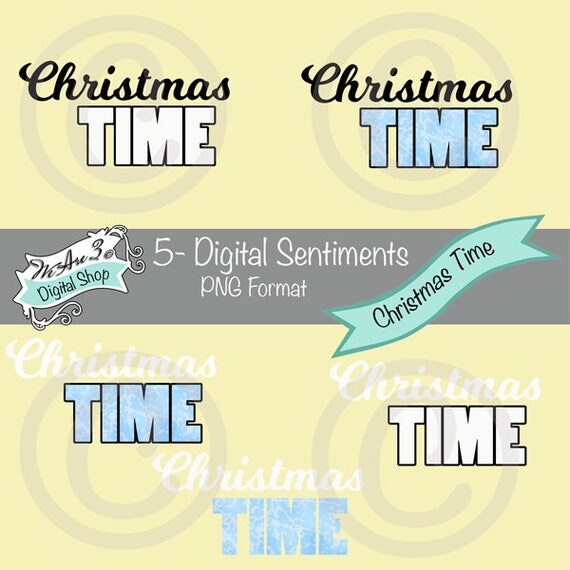
This card uses We Are 3's Christmas Magic digital paper and Christmas Time sentiment.  If you are not following We Are 3's on Facebook, you should go do that NOW.


November 14, 2017

It's Holly Leaf Time!

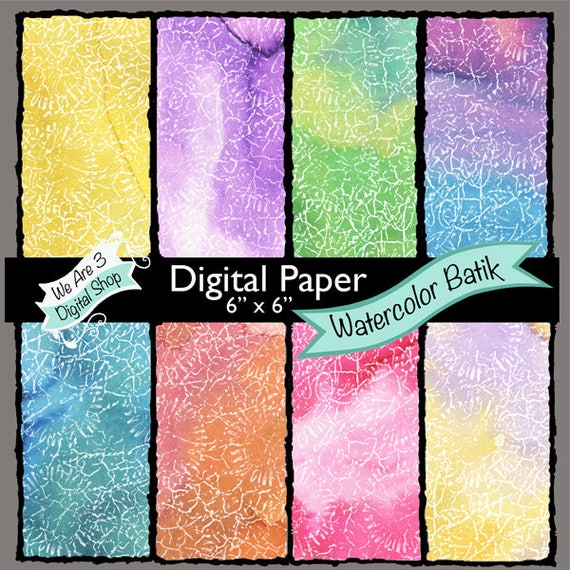
We Are 3 has created another beautiful image with their Holly Leaf digital image collection.  I love how the holly leaves of different colors blend, so when layered make a dreamy Christmas tree!   Be sure to check out the Facebook Page for more samples of using the Holly Leaf collection to make special Christmas cards...so cool!  For the truck, I used Watercolor Batik.

No automatic alt text available.         

December 5, 2016

Christmas Charm

71 down - 56 to go.  I'VE HIT THE HALFWAY MARK!

Below are three of the ten cards I made today. 


November 19, 2016

Get Ready for Christmas with Paper Studio

We all know our hobby isn't a cheap hobby - that take anything in a store and slap the term "scrapbooking" on it and the price triples.  However, I bought and bought and bought while I was working - and now in my retirement, I seldom need anything new other than adhesive.  I utilize my scraps the the fullest.  This card is made with scraps leftover from a Christmas card class I taught last year - you'll be seeing a lot of this leftover paper as I embark on my nearly 200 Christmas cards full force a week from now.

November 12, 2016

Precious Pink

I made extras of the gorgeous Hollyberries digi by Power Poppy.  I love the digis Power Poppy makes - amazing!  So since I had extras, I made another card for their Think Pink challenge.  Also check out the challenge at Doodle Pantry - another of my favorites.
Have to tell you about this great pink Christmas pattern - This paper was the very first paper I purchased when I started scrapbooking about 12 years ago - I LOVE this paper - so can never toss it when I clean out my stash - but obviously, never used it, either.  Today I decided to do some cleaning once again - and my cleaning lasted about 12 seconds until I came across these Hollyberries and this winter paper.  And THAT'S why I hoard!!!!!

August 8, 2016

Sweet Sketch Wednesday 2-95 + Snowy Delivering Presents

Welcome back to my blog...next up is my entry for a couple challenges.  Design is inspired by Sketch 2-95 (upside down) at Sweet Sketch Wednesday...using Snowy Delivering Presents by Conie Fong and patterned paper for her August Challenge.

April 21, 2016

Plant a Tree

Check out this gorgeous svg file - Reindeer Winter Tree Scene by Miss Kate Cuttables.  My stickles are still wet in the photo - making the card look a little sloppy - photo doesn't do it justice.

December 8, 2015

Making Last-Minute Christmas Cards

Running late getting Christmas cards made this year.  Last night's makes were these simple CAS cards.


December 3, 2015

Anything Goes Challenge with Craft-Dee Bowz

Join in the fun every month at Craft-Dee BowZ for a challenge (CDB32) that includes a handmade bow.  I wanted to do something quick and simple.


The paper - Puppy Dogs' Tails by Graphic 45 and Berry Watercolor by Simple Stories - are scraps from my grandson's scrapbook.  The image is left over from a paper pack by DCWV.  What do you think?  My card was inspired by an ad in an old Papercrafts (2006) magazine.  


My second card, also inspired by the Papercrafts ad, was made with scraps from DCWV.


I enjoy challenges - even simple ones such as "using a bow."  Remember, the Craft-Dee BowZ challenge runs through December 31 - so make sure you visit Craft-Dee BowZ every day for fabulous inspiration!  

June 5, 2014

Christmas Wishes

Here are adorable Christmas cards to make using Sparkle Tree, Gingerbread Boy, and Gingerbread Girl - all from 2 Cute Ink.


June 4, 2014

August 12, 2013

Snowflake Owl - 2 Cute Ink

I fell in love with the free digital stamp 2 Cute Ink was sharing this weekend -  Owl Doodle shared in Saturday's post.   I shared my card on the 2 Cute Ink Facebook Page, and Heidi the artist asked if I would use the same technique with some of her new digital stamps.  You know me...anything to be able to showcase my work!  

So Heidi sent me her latest digital stamp - Snowflake Owl - and as soon as I saw it, I saw cool, ice blue!

Here is my card - and step-by-step instructions below!  If you find yourself using this technique with digital stamps, please send me a link to your page in my comments....would love to see what you do!


Supplies Used

Two-sided Adhesive - on white cardstock - on cutting mat
Instructions
I just purchased a Sizzix eClip to replace my Cricut machine.  For those of you with Cricuts and Sure Cuts a Lot, the steps are almost identical.  You will only need to play with your pressure and/or blade depth on the Cricut.

First I placed a 6" x 6" piece of double-sided adhesive on a piece of white cardstock - leaving the protective cover on the top.

On the electronic cutter, Trace the digital stamp image.  Break apart the image.  I moved the solid owl image to its own layer.  So my screen looked like this:   

To cut, I set the Pressure to 3.  This cuts through the protective covering of the adhesive....but not through the cardstock.


Carefully remove protective covering over outline only
Next, I "hid" the layer with the detailed image, and displayed the solid owl image.  I set the cutter to cut two times - with a Pressure of 6.  This will cut through both the adhesive and cardstock.  See completed cut image to the right (excuse the messy glitter-catcher cardstock beneath).  You can see the detail cuts on the image's protective covering.

Cover with glitter; brush off excess
Using tweezers, I peel off the protective covering for the areas I want to glitter in each color.  I like to begin with the outline.  The way 2 Cut Ink's images are designed, it provides a nice "outline" as such.  I begin with glittering the outline...which makes it easier to find all the detailed pieces.  

I complete those same steps for each different glitter color.  You can see, once the outline is glittered, the rest of the pieces are easy to see.  Use tweezers to remove the pieces you want for each color.  You can see by the pics, that I am generous when covering with glitter.  All excess goes back in the jar, so no need to be skimpy.  For each color, remove protective covering, cover with glitter, brush off excess.  Repeat.

Generously cover with glitter
Rub off excess glitter (rub hard to get a smooth look
Shake off excess glitter


The next time I use this image, I will probably make the owl's belly white - my snowflakes aren't showing well with the little variance in blue colors.  With a white belly, blue snowflakes would really stand out (live and learn).

For this particular card, I did not resize the image.  However, the snowflakes were too small to cut easily, so I did enlarge them...then used the same technique to glitter.

A 4-1/4" x 5-1/2" piece of Robin's Egg Blue Classic Glitter cardstock provides the card front.  I used a border punch on both sides of a strip of Robin's Egg Blue Classic Glitter cardstock, ran it through the Xyron (upside down), and covered it with a combination of Cool and Warm Highlight glitter to provide a blue on blue effect.

I popped up the owl....and glued on glittered snowflakes.

If this inspires you to use this technique, please leave me your link in the comments....I would enjoy seeing your creation.  Keep an eye on 2 Cute Ink - I'm looking forward to more creations (I see Sea Creatures in my future!)