August 26, 2013

Angel Fish Doodle

Hi Everyone,

Today'post features Angel Fish Doodle - all glitzed up.  Seriously, this is one amazing digi!  With beautiful flowing fins and tail, this digi will pop off your projects.  


Here is a closeup of the Angel Fish in all her glitz and glamor.


Digi stamps are a great value for those looking to get their money's worth.  They are more versatile than rubber stamps as they can be resized to fit your project.  You can get this digi right here.  If you want to see how to glitter digi stamps, you can see step-by-step instructions by clicking here

Supplies I used for this card:
  • Angel Fish Doodle Digi Stamp - Sized to 4.25" x 4.46" (2 Cute  Ink)
  • Glitter
    • Transparent, pastel green, and purple (Glitter Ritz and Tree House)
  • Cardstock
    • Green Polka Dot (American Crafts)
    • Distressed Purple (Robin's Nest)
    • Blue Glitter Crackle (Robin's Nest)
  • SVG File
    • Bracket Easel Card (My Scrap Chicks)

August 19, 2013

Squid Doodle

Hi Everyone,

It's great to be joining the 2 Cute Ink Design Team today. I'm bringing a slightly different style to the digital stamps - glitter! Today's post features Squid Doodle - a digi stamp that can be incorporated into any occasion. If you want to see how to glitter the digi stamps, you can see step-by-step instructions by clicking here


Supplies I used for this card:
  • Squid Doodle Digi Stamp - Sized to 2.4" x 5.3" (2 Cute  Ink)
  • Glitter
    • Kensington Park (Glitter Ritz)
    • Selection of transparent, blues, gold, & bronze (Tree House Studio)
  • Cardstock
    • Cream - 8-1/2" x 5-1/2"
    • Sour Apple Classic Glitter - 3-1/2" x 5-1/2" (The Robin's Nest)
    • Blue Glitter Crackle - 3" x 5-1/4" and two strips 1-1/4" x 5-1/4" (The Robin's Nest)
    • Lavender Classic Glitter - 3" x 5-1/4" (The Robin's Nest)
  • Border Punch (Martha Stewart)
  • Cutting Files
    • Vintage Tab Frame - 3.4" x 5.3" (SVG Cuts)
Here are some close-ups of the glittered squid.


Have a great week; we'll see you right back here next Monday.

August 16, 2013

Scraps to Treasures - Happy Birthday Blog Hop

Hi Everyone,

It's great to be back with all of you this Saturday for another Scraps to Treasures Blog Hop. Today's hop features many more timeless projects using scraps with one major theme - birthdays! And make sure you hit all the blogs, because Robin has a giv
eaway! One lucky follower will receive a Scrappy Goodie Mix! It will have several different scrappy items with a value of about $20!!! To be entered for this awesome Blog Candy you MUST leave a comment on EACH blog in the hop. If you become a new follower you will earn an added entry. Please leave a comment that you became a follower.

If you are passionate about stamping or scrapbooking, and love the play with scraps, Click here to join us for next month's hop - the hop on September 21 will feature altered items.

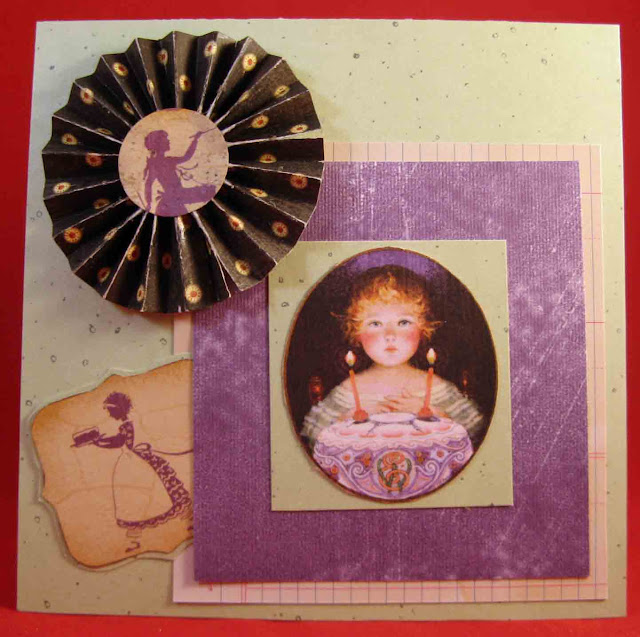
It has been my mission for months now to use only scraps in my projects. And I'm proud to say, I've been fairly successful. Made one group of cards with a new paper pack - but everything else is coming from scraps - with my pile FINALLY, albeit slowly, dwindling down. All the images in my cards today are left over from Graphic 45 Place in Time projects. Since I had lots left over with birthday images, I made more than one card.


Have a great weekend, and we'll see you right back here next month for the Altered-Items Blog Hop.


Your next stop is Paula.  Here is the entire line up in case you become lost.

August 12, 2013

Snowflake Owl - 2 Cute Ink

I fell in love with the free digital stamp 2 Cute Ink was sharing this weekend -  Owl Doodle shared in Saturday's post.   I shared my card on the 2 Cute Ink Facebook Page, and Heidi the artist asked if I would use the same technique with some of her new digital stamps.  You know me...anything to be able to showcase my work!  

So Heidi sent me her latest digital stamp - Snowflake Owl - and as soon as I saw it, I saw cool, ice blue!

Here is my card - and step-by-step instructions below!  If you find yourself using this technique with digital stamps, please send me a link to your page in my comments....would love to see what you do!


Supplies Used

Two-sided Adhesive - on white cardstock - on cutting mat
Instructions
I just purchased a Sizzix eClip to replace my Cricut machine.  For those of you with Cricuts and Sure Cuts a Lot, the steps are almost identical.  You will only need to play with your pressure and/or blade depth on the Cricut.

First I placed a 6" x 6" piece of double-sided adhesive on a piece of white cardstock - leaving the protective cover on the top.

On the electronic cutter, Trace the digital stamp image.  Break apart the image.  I moved the solid owl image to its own layer.  So my screen looked like this:   

To cut, I set the Pressure to 3.  This cuts through the protective covering of the adhesive....but not through the cardstock.


Carefully remove protective covering over outline only
Next, I "hid" the layer with the detailed image, and displayed the solid owl image.  I set the cutter to cut two times - with a Pressure of 6.  This will cut through both the adhesive and cardstock.  See completed cut image to the right (excuse the messy glitter-catcher cardstock beneath).  You can see the detail cuts on the image's protective covering.

Cover with glitter; brush off excess
Using tweezers, I peel off the protective covering for the areas I want to glitter in each color.  I like to begin with the outline.  The way 2 Cut Ink's images are designed, it provides a nice "outline" as such.  I begin with glittering the outline...which makes it easier to find all the detailed pieces.  

I complete those same steps for each different glitter color.  You can see, once the outline is glittered, the rest of the pieces are easy to see.  Use tweezers to remove the pieces you want for each color.  You can see by the pics, that I am generous when covering with glitter.  All excess goes back in the jar, so no need to be skimpy.  For each color, remove protective covering, cover with glitter, brush off excess.  Repeat.

Generously cover with glitter
Rub off excess glitter (rub hard to get a smooth look
Shake off excess glitter


The next time I use this image, I will probably make the owl's belly white - my snowflakes aren't showing well with the little variance in blue colors.  With a white belly, blue snowflakes would really stand out (live and learn).

For this particular card, I did not resize the image.  However, the snowflakes were too small to cut easily, so I did enlarge them...then used the same technique to glitter.

A 4-1/4" x 5-1/2" piece of Robin's Egg Blue Classic Glitter cardstock provides the card front.  I used a border punch on both sides of a strip of Robin's Egg Blue Classic Glitter cardstock, ran it through the Xyron (upside down), and covered it with a combination of Cool and Warm Highlight glitter to provide a blue on blue effect.

I popped up the owl....and glued on glittered snowflakes.

If this inspires you to use this technique, please leave me your link in the comments....I would enjoy seeing your creation.  Keep an eye on 2 Cute Ink - I'm looking forward to more creations (I see Sea Creatures in my future!)

August 11, 2013

Inspired by Stamping Color Challenge #61

Inspired by Stamping is having another fun challenge.  Had to laugh when I saw the color combination for Challenge #61 - as I have been immersed in these colors for months as I made 100 wedding invitations for my niece.  No backposting, of course; but I must say I do have a lot of paper in these colors left over.  So it was all pretty handy to make a new card style.  Here is the card I made for the challenge - but please take a minute to see the wedding invitations, as no two out of the hundred are alike!


Join in the fun and submit your card to Inspired by Stamping....they are giving away prizes!

August 10, 2013

Burnished Velvet Kick

Help....got my hands on some great freebies and have become absolutely hooked on covering them with glitter!  2 Cute Ink and Miss Kate Cuttables have some fabulous freebies out there...I just had to see these in glitter.  So I've been playing with my new eClips which I am loving for how it handles detail.  It handles these files super well....cutting the detail on cardstock covered with two-sided adhesive paper...then a couple multi cuts for the final cut.  Cover with a fine glitter (Glitter Ritz is my favorite).  Loving them!!!!!

2 Cute Ink

Miss Kate Cuttables 
Miss Kate Cuttables
Miss Kate Cuttables


Miss Kate Cuttables


August 8, 2013

Jackpot Birthday

Hi Everyone,

There are many fun things coming out of my scrap piles!  Today I am showcasing the birthday card I made for my brother-in-law with digital images from JW Illustrations.

Front of Card

Inside

August 3, 2013

Graduation Cards

Well, either I'm early or late!  Kids are going back to school....and I'm just getting around to posting graduation cards I made in the Spring!